
The 18 minute slingshot
So, you’ve scored an offer from SimpleShot to purchase a DIY kit to make your own slingshot (good idea), but you haven’t finished up yet.
- Maybe the whole idea of banding up a slingshot is overwhelming (the first time is always the hardest).
- Maybe you’re not sure what to look for in a fork?
- Maybe something else? Regardless, that kit is doing you no good whatsoever without the effort to put it together.
If you want to go from average Joe to slingshot superhero, literally 18 minutes is all you need. Here’s how.
Step one: Watch this video [6:00]
This will take 6 minutes. But it’s worth every one.
You could stop it at 5 minutes, but you’d miss the most encouraging part: watching a JUST MADE slingshot nail a 6-inch target three out of three tries.
This video will give you the complete overview of how to turn a tree fork into a kickin’ slingshot!
Step two: Prepare your fork [4:00]
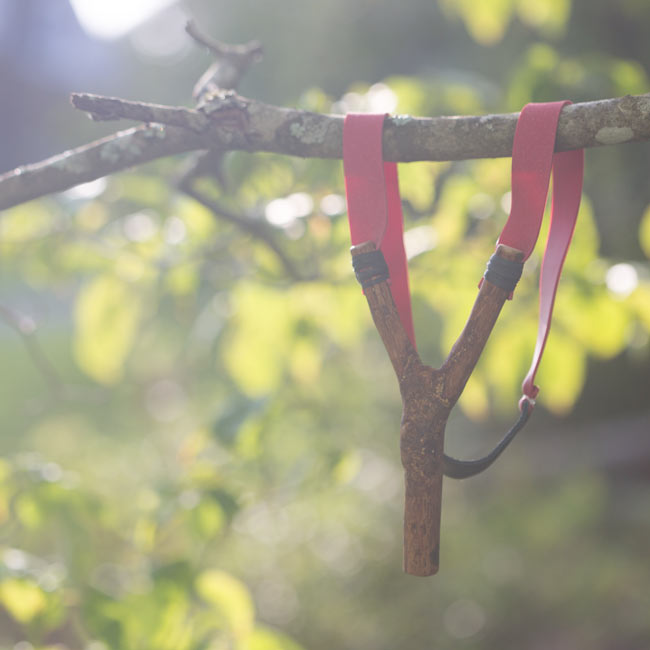
You’ve found a good fork. Now you need to prepare it.
Trim the fork ends, leaving enough fork for the slingshot projectile to clear your hand (not too short) and with a pocketknife, smooth off any jagged edges. (Jagged edges = torn bands).
Trim the handle wherever it feels comfortable.
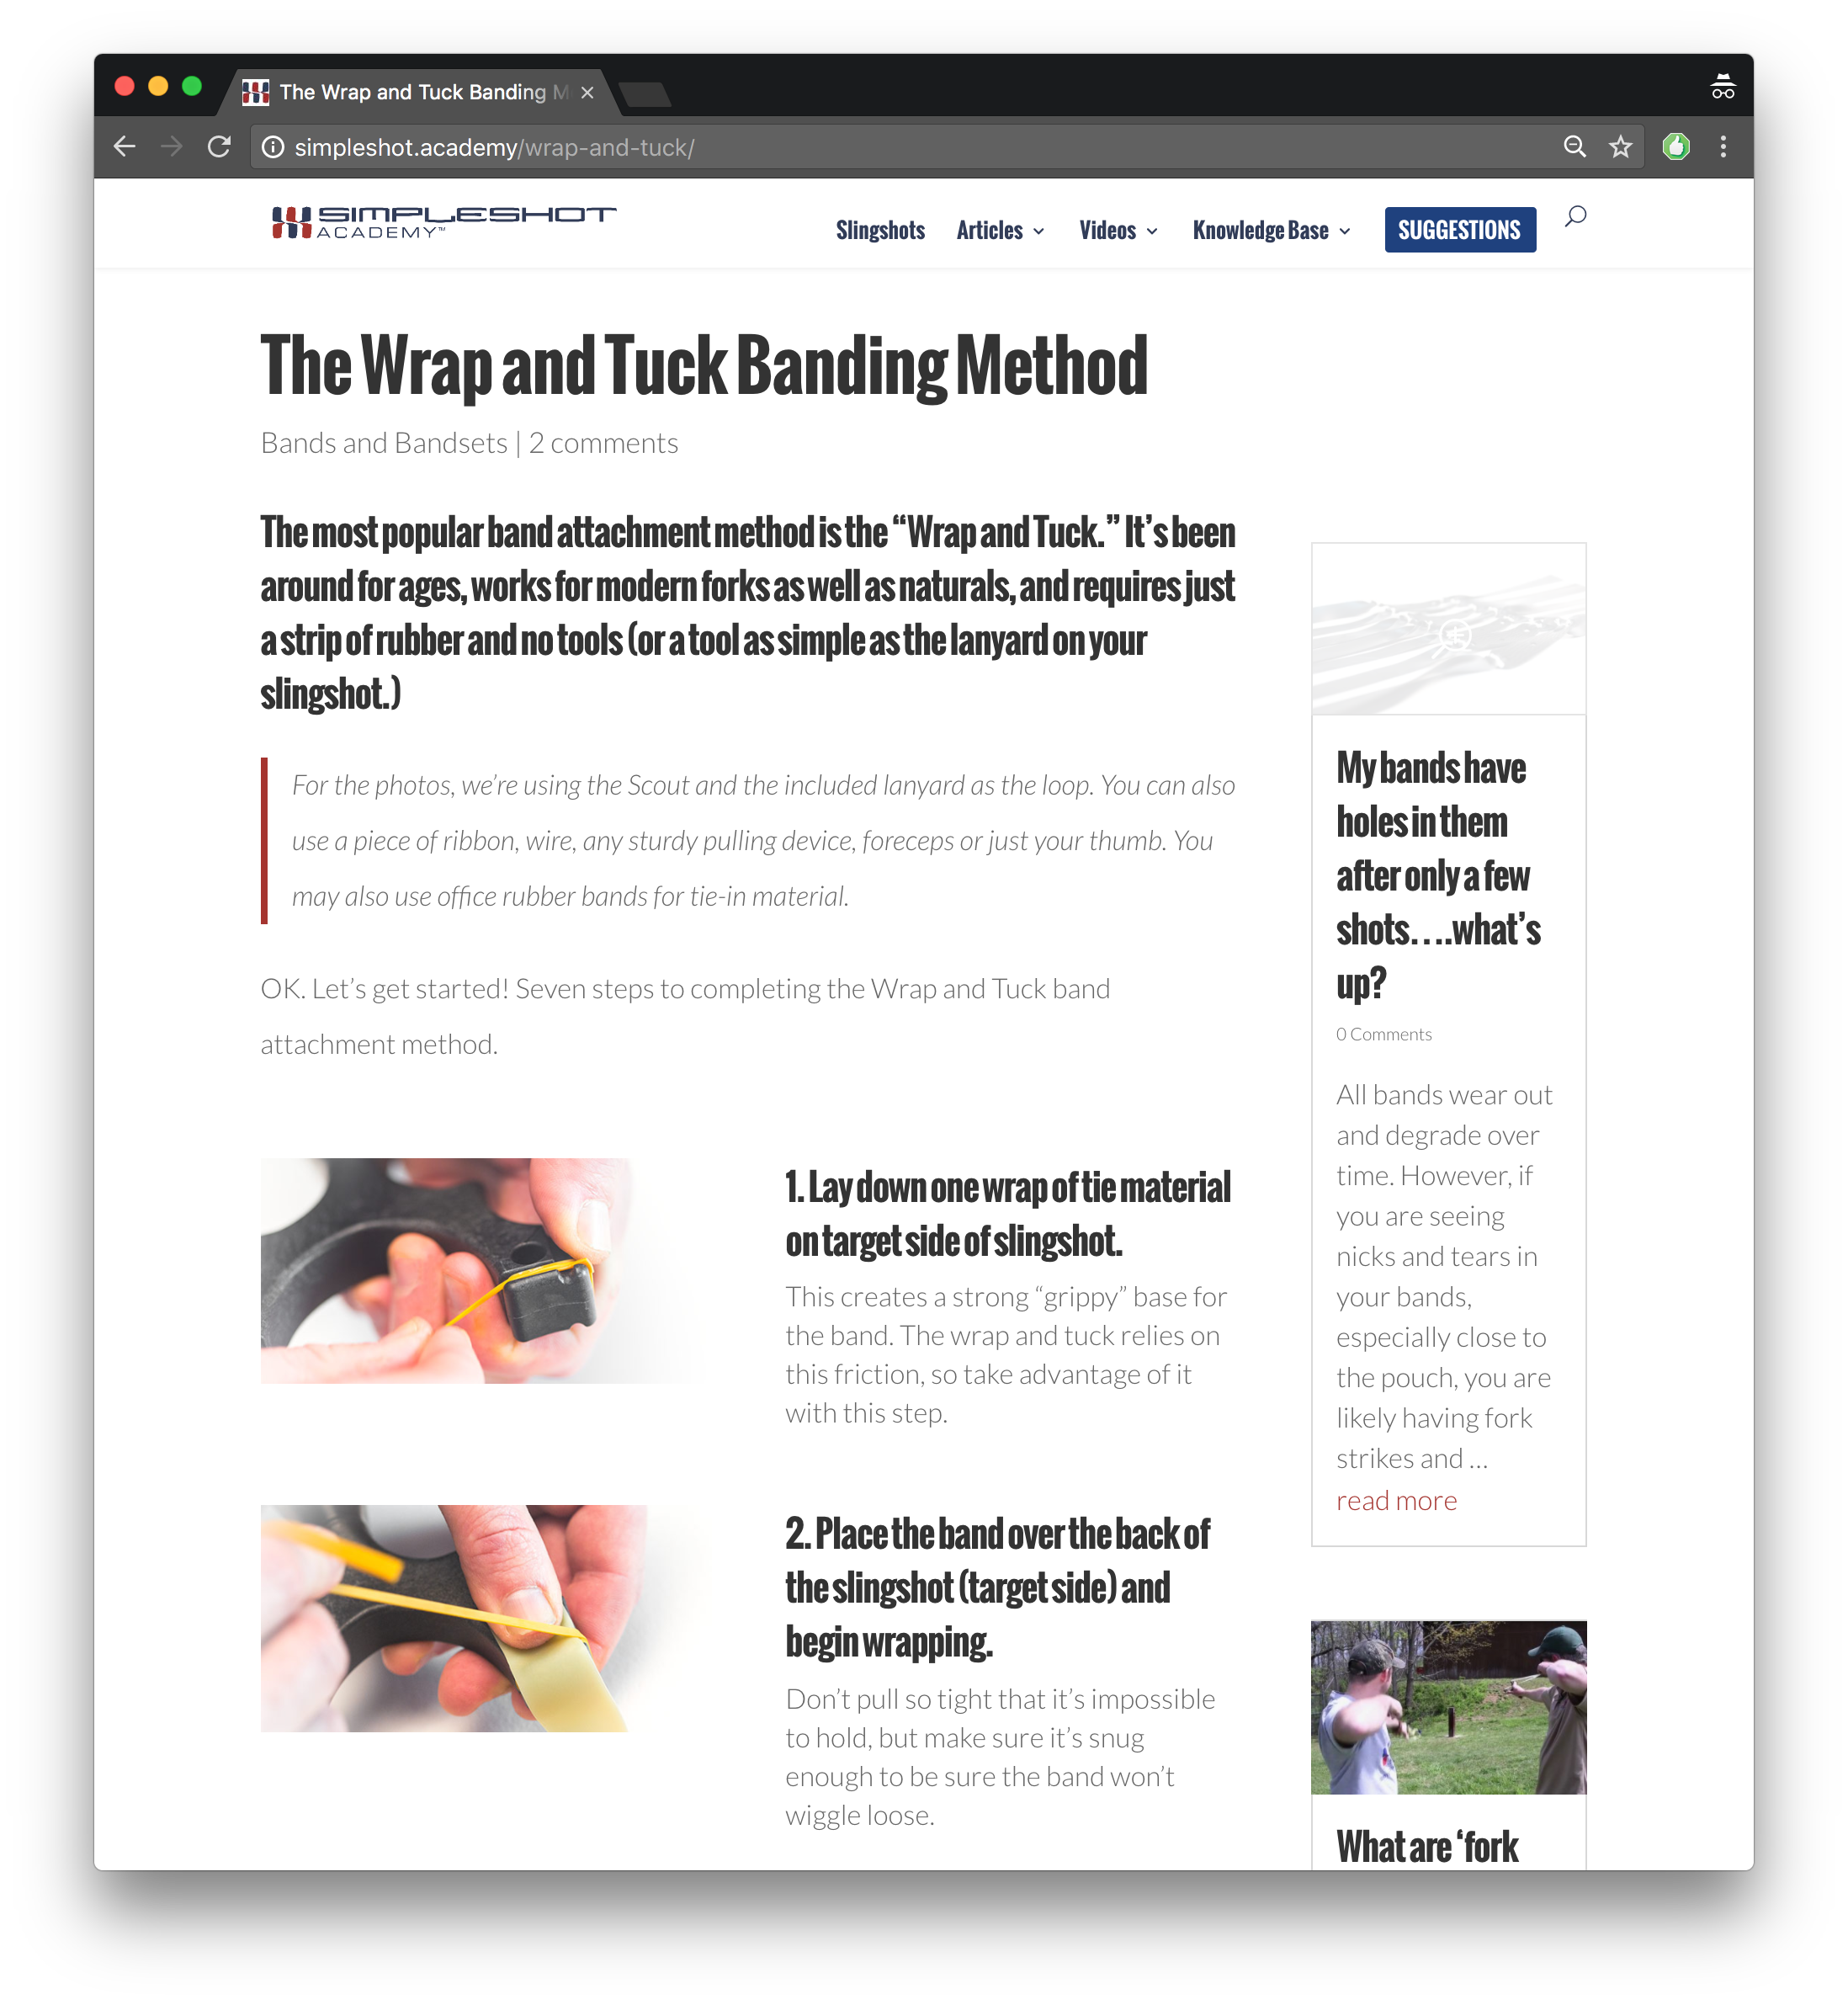
Step three: Learn “Wrap and Tuck” [4:00]
We’re giving you time for learning here. [SEE TUTORIAL]
Why? Well, mastering the “Wrap and Tuck” method is essential to slingshot success.
Sure, you don’t NEED it. There are awesome options out there like FlipClips™ and the Ocularis™ banding system, but if you want to be able to attach any band to anything, you need to know this.
Read this page carefully and learn how to use this method of attaching bands.
Step four: Wrap and Tuck [4:00]
Now that you’ve read the tutorial and learned how to use the Wrap and Tuck method, you’re ready to actually install your bands.
Review: you’ve selected your fork, rounded off the tips, watched the video of how to do this, and learned the Wrap and Tuck method.
Now it’s time to make this slingshot happen!
Using your new knowledge, securely fasten the bands to the fork.
- Make sure that your pouch is oriented correctly (fuzzy side IN)
- Make sure your bands go OVER THE TOP of the slingshot fork
- Make sure the “ears” (the trimmed ends of the bands where they are tied in) are facing OUT
- Make sure your bands are attached to the target side of the fork, not the side facing you (hence, OVER the top)
This owners manual will show you closeups of what we’re talking about.
This one will tell you things you really must know.
Step five: Have fun [The rest of your life]
- Impress your friends (earn serious man points)
- Quality time with family (your kids will love it)
- Become a marksman superstar (cutting cards, snuffing candles…)
- Give the best gifts at every party or holiday
You are now on your way to (don’t laugh, seriously) a LIFETIME of fun. Congratulations!
Slingshot Bands

Slingshot DIY

Slingshot Ammo

NOW TO FIND THE BEST DOGWOOD TREE, A GREAT PROJECT FOR MY GRANDSON AND I
It IS a great project! Hope you’ve had lots of success!
Hello, I found your site watching Zachery Fowler of Alone fame. I didn’t have internet and no one to show me how to accurately shoot the slingshots that I purchased as a kid. Now-a-days what a light years ahead jump for anyone wanting to shoot a slingshot or for that matter almost anything a person could possibly want to do! I really enjoyed your video showing how to find a fork and hook on the rock chucker bands and get to shooting.
I did have a couple of questions about wrist flip to avoid band slap and maybe what types of slingshots are more prone to this or those that aren’t. Also what causes the problem some have experienced of shooting the slingshot itself and damaging the slingshot or shooting their dang hand off? Thank you in advance for your help.
Thanks for stopping by!
We’re glad you found us.
Here’s a page for that handslap question: http://simpleshot.academy/bandslap/
And it looks like you’re talking about fork hits? Uh oh. Best bet? Do a search right here (top right) for “Fork hit” and you’ll see our resources for the acursed fork hit.
Hi Nathan and the crew you guys are awesome I bought my Scout from Amazon should have bought from you directly. I really like the design that you have created. Is there a way I can shoot an arrow from the Scout if not what would you recommend to use where I can shoot 7/16 ball bearing and arrow with the same sling that can attach the arrow guide? The slingshot brought back the youth in me. You and your team do awesome work with woods and designs. Where can I buy the leather to make my own pouches and how thin should the leather be? I have an old leather jacket and leather work boots that have seen better days. That I will cut up and try out with. I just recently but the pouch jig looking forward to using it. Thank you for making such great products. The videos much need and appreciated Keep up the great work.
We’ve had customers shoot arrows with their own rigs but we don’t support any arrow shooting from the Scout.
Having a bit of trouble finding the material used to tie the bands to the forks and pouch. What do I look for, rubber bands?